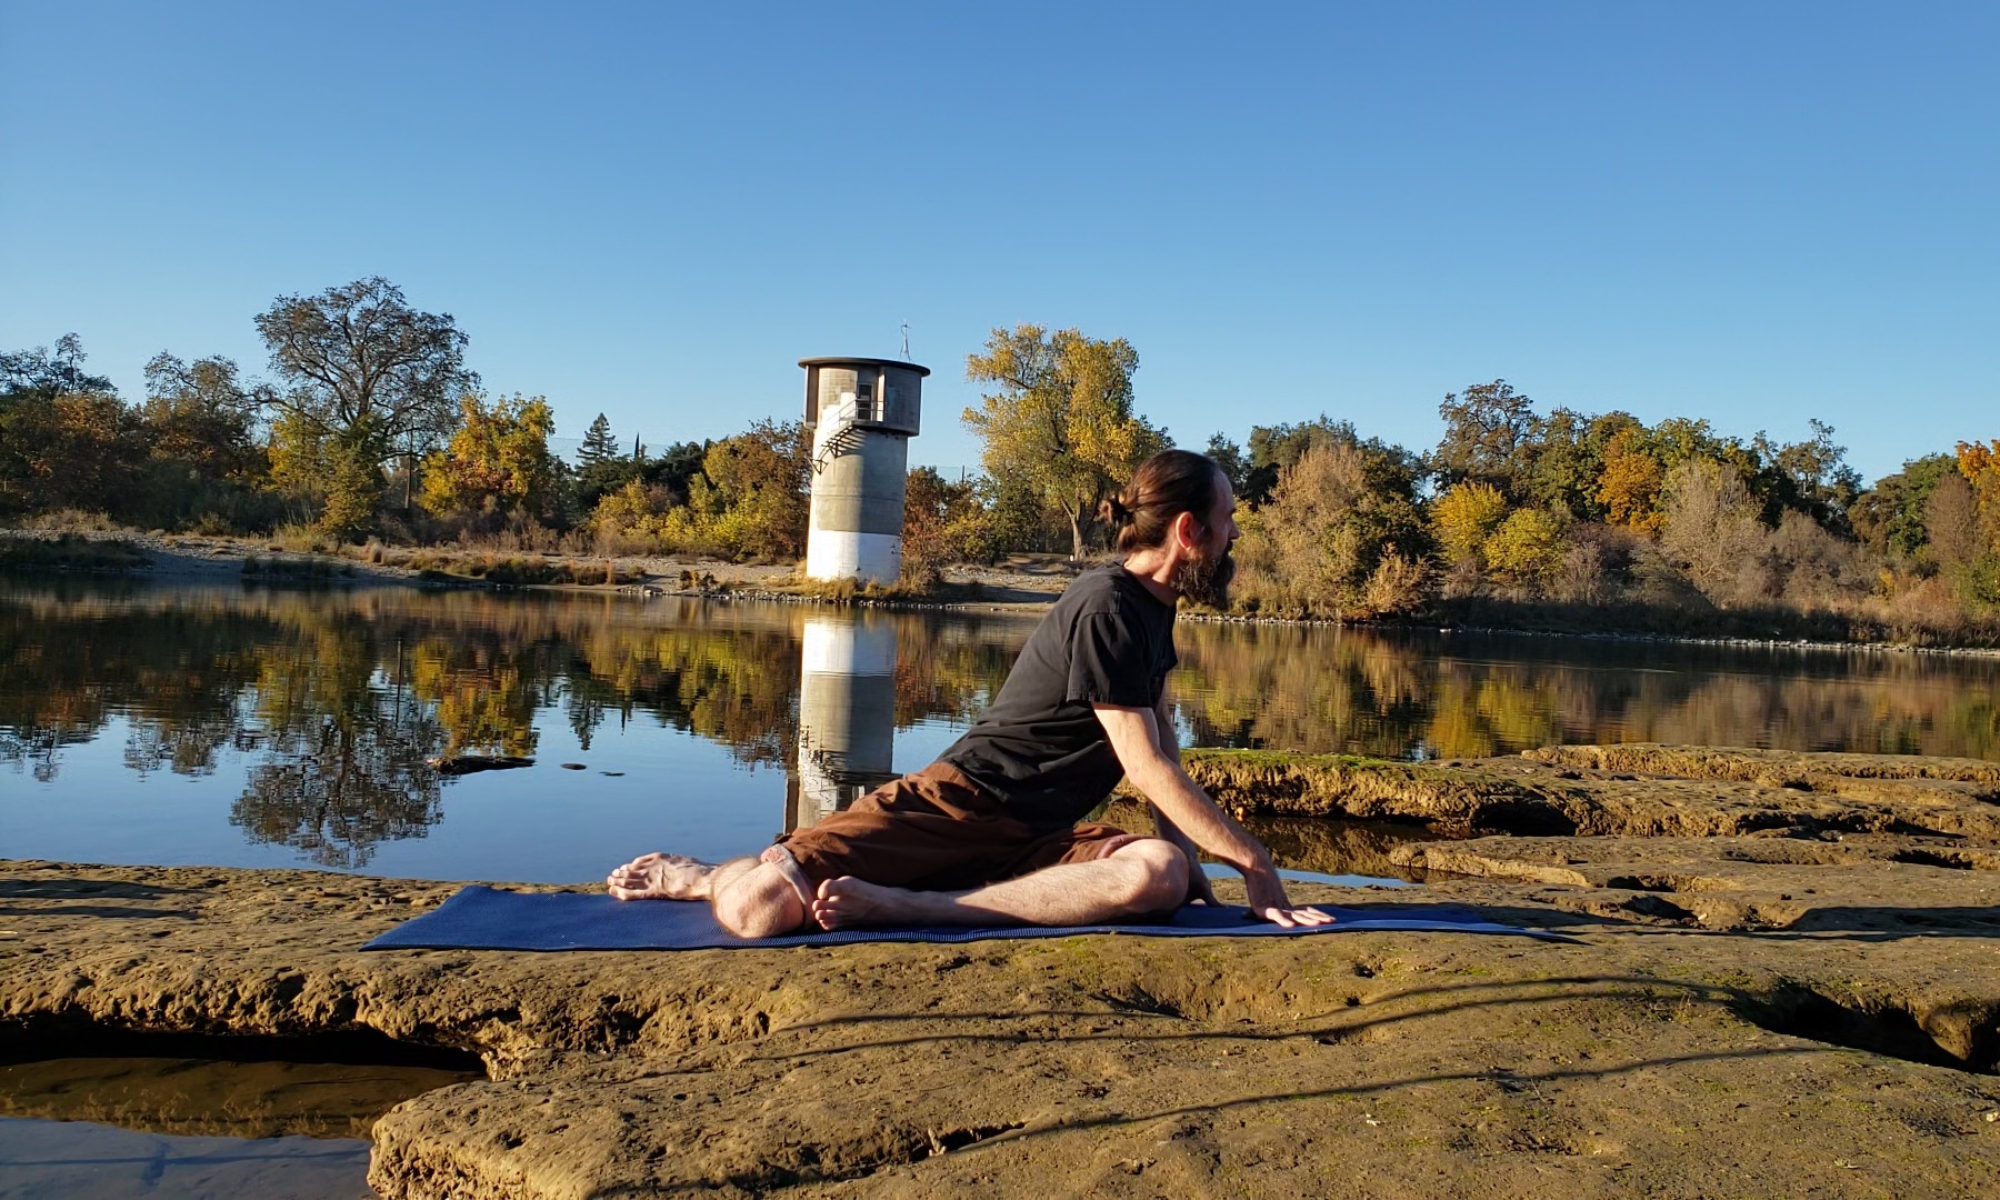
This is a stretch sequence that helps to relieve tension in the neck, shoulders, jaw, throat, soft palate, and upper back. I highly recommend it for singers due to the large number of muscles involved being useful for singing, but also recommend this for non-singers. The sequence involves circular motions with your head while opening up different parts of the head and neck. It’s called the expanding cavern based on a tension visualization that I frequently use while practicing this sequence.
Sequence Steps
- Enter the initial position (singer’s expansion) for the sequence:
- Begin in any comfortable position where the head and neck are not supported by external objects. You can stand or sit in a chair or on the floor.
- Enter the upper body into the singer’s expansion by lifting your soft palate, opening your throat, and letting the jaw hang loose.
- The soft palate is the part of the mouth behind your upper molars that can raise or lower the uvula, which is the fleshy part that hands down in the back of your throat. If you are unfamiliar with how to lift the soft palate, practice raising and lowering it while looking in the mirror at the back of your throat.
- To open your throat, try making your neck wide and tall like a huge tree. Alternately, imagine making space for a phallic object slowly sliding down your throat.
- Release the jaw so that it hangs loosely without tension.
- Take a deep breath, imagining that your lungs extend up your throat, filling your neck and the back of your head like a balloon. When you exhale, feel the wave of relaxation continue up into your head, but keep this area lightly engaged with maintaining the expansion.
- Imagine slowly drawing a small circle with the tip of your nose. Mentally assure yourself that:
- A body free of tension will feel relaxed in the neck, shoulders, and upper back in all positions of this circle.
- The cause of any position in the circle feeling any tightness is muscle tension, not just engagement.
- Slowly draw a small (2-3″ or 5-8 cm diameter) circle in the air with your nose:
- Begin by slowly allowing the nose to drop slightly until you feel slightly higher muscle tension than the initial position in the head, neck, shoulders, or upper back. Pause and take a deep breath, relaxing the slightly tense muscles on the exhale to see if you can return to the deep relaxation of the initial position.
- Very slowly begin drawing the circle in a clockwise motion with your nose by pointing your nose slightly left, then left and starting to head upward.
- Keep reinforcing the desire to open the throat and lift the soft palate by gently requesting a renewed singer’s expansion at different points in the circle. If the muscles get too tight when you do this, reduce the expansion slightly until there is only light tension.
- To keep the tension level low, adjust the circular path as you go. Use larger circles if your muscles feel relaxed or smaller circles if they are too tight. You may find that the optimum path is more oval-shaped or an odd-shaped curved path. Let your body tell you the best path by listening closely to signs of increasing or decreasing tension.
- Take breaks in the circular motion for microstretches, which are pauses where you remain at the same position in space, but relax and adjust so that you could hold that position as comfortably as possible for several minutes. This may include a deep breath, where you relax your muscles but maintain the position of the tip of the nose.
- Add the “circle of tension” visualization.
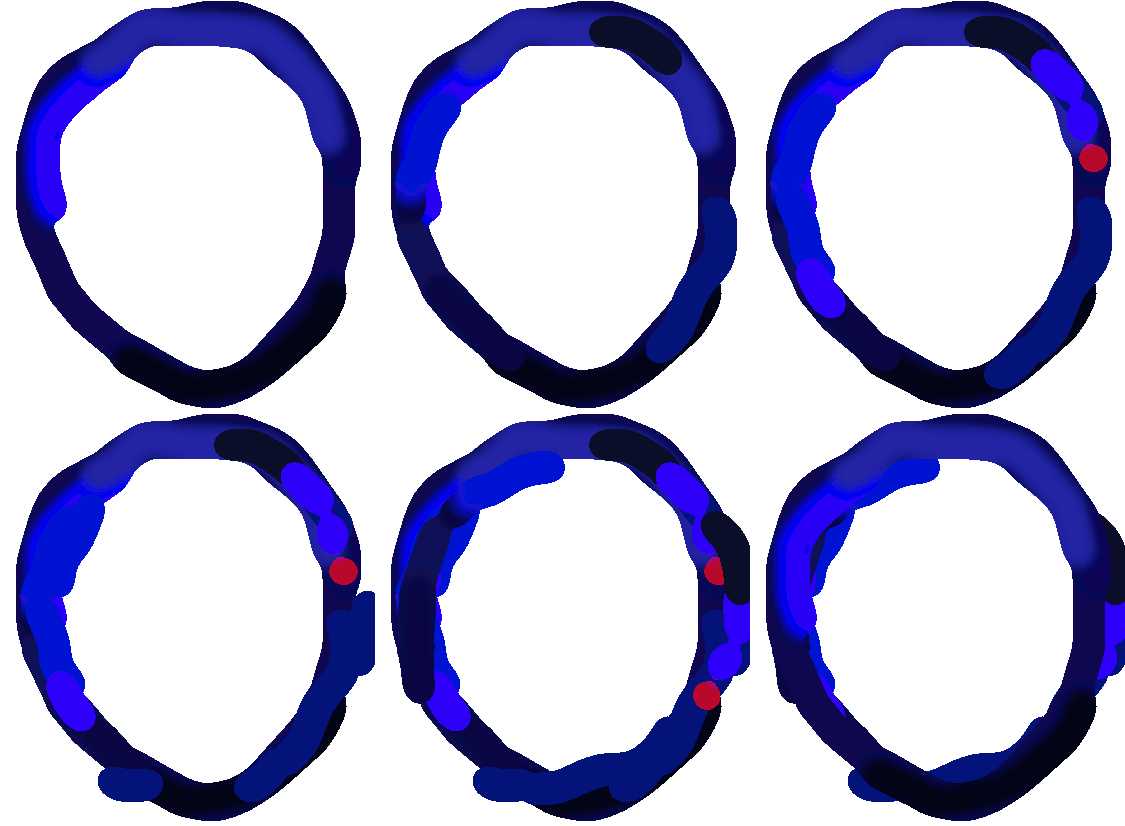
- Close your eyes. Continue the circular motion while focusing on the sensations of higher and lower tension coming from the upper body. Visualize these sensations as a simple circle with different colors to indicate the different levels of tension. I use black for tension-free areas, different shades of blue for different levels of tension, and red for any areas that are painful, but you should choose the colors that fit best with what you sense.

- Continue updating the mental picture of this circle throughout each rotation. You may find that some points of the circle change colors or move from one point of the circle to another on different passes. Use this information to guide how big you make your circles and how deeply you engage the singer’s expansion. Aim to keep most of the circle in the dark blue (light tension) colors. Don’t get too close to bright blue (high tension) and red (painful) areas. Lots of black color (no tension) indicates you can go bigger or deeper.
- Close your eyes. Continue the circular motion while focusing on the sensations of higher and lower tension coming from the upper body. Visualize these sensations as a simple circle with different colors to indicate the different levels of tension. I use black for tension-free areas, different shades of blue for different levels of tension, and red for any areas that are painful, but you should choose the colors that fit best with what you sense.
- Add the “expanding cavern” tension visualization.
- As you visualize the flat circle of tension, you may sense that each pass is effectively mapping one slice of a three-dimensional tube. Some parts of the circle may appear to move along this tube instead of to different points of that circle.
- Take the visualization into three dimensions by imagining that you are mapping the solid and open parts of a three-dimensional cavern. Imagine that these colored circles are brushing the sides of a cavern. As you continue the circular motions, parts of the walls of the cavern may start to feel like they break free and shift positions. You may start to feel new passages in the cavern open up or fall in your way. Incorporate these cavern movements in your visualization. Lightly encourage the areas directly around where you feel the movements to see if they want to move in a similar direction.
- Treat the sequence as if the goal is to explore and map every inch of this cavern, finding all the hidden passages and making all the corridors bigger. Paint a clear picture of it in your head based only on how the muscles feel as you move them.
- Continue repeating the circular motion and microstretches for as long as microreleases are sensed and time permits. Microreleases are tiny releases of muscle tension that may be perceived as pops, cracks, tingles, foreign-feeling muscle sensations or movement, choppy motion, and/or temperature changes.
Background
This is the first stretch sequence I developed and is the one I practice more than any other. The lessons I learned about my body from this sequence led directly to the development of sequential stretching and all the stretch sequences on this site. This sequence is so automatic to me now that I start doing it during other activities like reading, watching TV, or writing this article without even thinking about it. I doubt a day has passed since I discovered sequential stretching that I haven’t practiced this one.
The body positioning is called the singer’s expansion because it is what a classically trained singer will do just prior to singing in order to make space for the sound to resonate. This position is important for any singer to learn, but is also helpful for non-singers since it activates muscles that can block the movement of many muscles that non-singers commonly use.
Tips:
- If any sustained or sharp pain or muscle spasm is felt during the sequence, immediately move to a comfortable position. Remember where the pain was felt so that you can steer around the pain and move more slowly and gently near that position.
- Be extra gentle with yourself while doing this sequence. Muscles of the neck and upper back can be fragile and prone to muscle spasms. Gentleness also helps increase the tension release rate while preventing injury.
- Keep the motion as slow as possible so that any tension that creeps in can be quickly relieved.
- Since all this sequence requires is that your head is free to rotate, it is easy to do this during lots of other tasks. Of course, the more focused you are on it, the better the tension release rate.
- External sensory deprivation is especially helpful for this sequence. Try it in a completely silent place if you can find one or with earplugs. Microreleases during this stretch often make audible sounds like pops, clicks, and cracks even in very light levels of tension. Many of these will be very low volume and only audible to you, as the sounds travel better through your bones, muscles, and tendons to the eardrums better than through the air. Focus on these sounds of muscle release to help you understand how even extremely gentle movements can release tension.
- Use Simplified Positional Posing and Movement (SPPM) to decouple feelings of tightness from head/neck movement. Think only of positioning the tip of your nose in space while relaxing all the upper body muscles involved. As you note that movement is possible without tightness, your body will eventually stop tightening up unnecessarily.
- There are lots of variations of this sequence possible by using different planes or directions for the circular motion. Move the head further forward to focus more on lower points of tension in the neck and throat. Rotate in a counter-clockwise direction to focus the stretch on slightly different parts of the muscles. Try with the jaw closed different amounts to feel how tension in the jaw muscles affects the surrounding muscles. Try opening your eyes wide or shutting them tight at different points in the circles. If you can wiggle your ears, try moving them to different locations during this sequence.
- There are a lot of different muscles in the head and neck that can obstruct the flexibility of their surrounding muscles. The more you can get them involved during variations of this sequence, the better you will understand which ones are getting in the way of your flexibility and how to release them.

